Running your own Nextcloud gives you full control over your files, calendars, chats, and documents, but setting up a server stack by hand can be intimidating. With Nextcloud All-in-One (AIO), you can start a single Docker container and a browser-based interface handles the rest, from domain checks and certificates to optional add-ons, backups, and updates.
In this guide, we walk you through every step of installing Nextcloud AIO on a Linux machine, from installing Docker to logging in to your new Nextcloud instance and setting up backups. If you’re on Windows, check out our Nextcloud AIO guide for Windows 11 instead.
Table of contents
What is Nextcloud All-in-One?
Nextcloud All-in-One is a Docker-based project that allows you to install just one container that does the heavy lifting of creating and managing all containers needed for a complete Nextcloud installation. It provides easy deployment and maintenance of Nextcloud’s features, a user-friendly interface, stress-free updates, and a straightforward approach for getting everything to work out of the box.
Nextcloud AIO is free for up to 100 users. If you need more, Nextcloud Enterprise has you covered.
Requirements
Before you start, make sure your setup meets the following requirements:
A Linux PC or server (e.g., with Ubuntu 24.04 LTS) with at least 4 GB of RAM and two cores.
A supported CPU architecture: x86_64 (amd64) or aarch64 (arm64).
Suitable storage: An SSD is recommended. HDDs work but are noticeably slower. SD cards are not recommended, since the database and other components write to disk constantly.
A domain. You can use a domain you already own, or, if you don’t have one, Nextcloud AIO can register a free deSEC domain for you during setup (see Step 4).
The ability to open ports in your firewall or router, so your Nextcloud is reachable from the internet. Make sure that you are not behind CGNAT. If you use the free deSEC domain, you can skip port forwarding for now and do it later, once you want to make your instance publicly accessible. If you can’t open ports at all or don’t want your instance to be reachable from the internet, take a look at the guides for running Nextcloud AIO via Tailscale or running Nextcloud AIO locally.
Please note that this guide is for a setup without a web server or reverse proxy (like Apache, nginx, etc.) already in place. If you want to run Nextcloud AIO behind a web server or reverse proxy, check the corresponding documentation page.
Step 1: Install Docker
Install Docker on your Linux system by following the instructions in the Docker documentation. The easiest way is to install it with the convenience script:
curl -fsSL https://get.docker.com | sudo sh
⚠️ Snap-based Docker installations are not supported. This mostly affects Ubuntu users. To check whether you’re using the snap version, run:
If the output shows /var/snap/docker/, switch to a standard Docker installation by following the Docker installation guide for Ubuntu before you continue. Only remove the snap package (sudo snap remove docker) once you’re sure that no existing containers are running in it, so you don’t lose any data.
Nextcloud AIO uses a special container, the mastercontainer, to create and manage all the other containers in your Nextcloud setup.
Open a terminal and start it with this command:
# For Linux and without a web server or reverse proxy (like Apache or nginx) already in place:
sudo docker run \
--init \
--sig-proxy=false \
--name nextcloud-aio-mastercontainer \
--restart always \
--publish 80:80 \
--publish 8080:8080 \
--publish 8443:8443 \
--volume nextcloud_aio_mastercontainer:/mnt/docker-aio-config \
--volume /var/run/docker.sock:/var/run/docker.sock:ro \
ghcr.io/nextcloud-releases/all-in-one:latest
A few things to keep in mind about this command:
Don’t change the container name (nextcloud-aio-mastercontainer) or the volume name (nextcloud_aio_mastercontainer). Updates of the mastercontainer and the built-in backups depend on them.
If port 8080 is already in use on your machine, you can map the Nextcloud AIO interface to a different host port, e.g., --publish 8081:8080.
For production use, we recommend starting Nextcloud AIO with the example Compose file instead of docker run, since it makes upgrades and later changes easier.
Note: If you’d like to store your files in a different location than the default Docker volume, please refer to the instructions on how to change the default location of Nextcloud’s datadir. You need to decide this before the initial installation.
Step 3: Open the Nextcloud AIO interface and log in
Once the mastercontainer is running, open the Nextcloud AIO interface in your browser at https://localhost:8080 or https://the.servers.ip.address:8080.
⚠️ Always use an IP address, not a domain, when you access port 8080. Otherwise, HSTS might block access to the interface later.
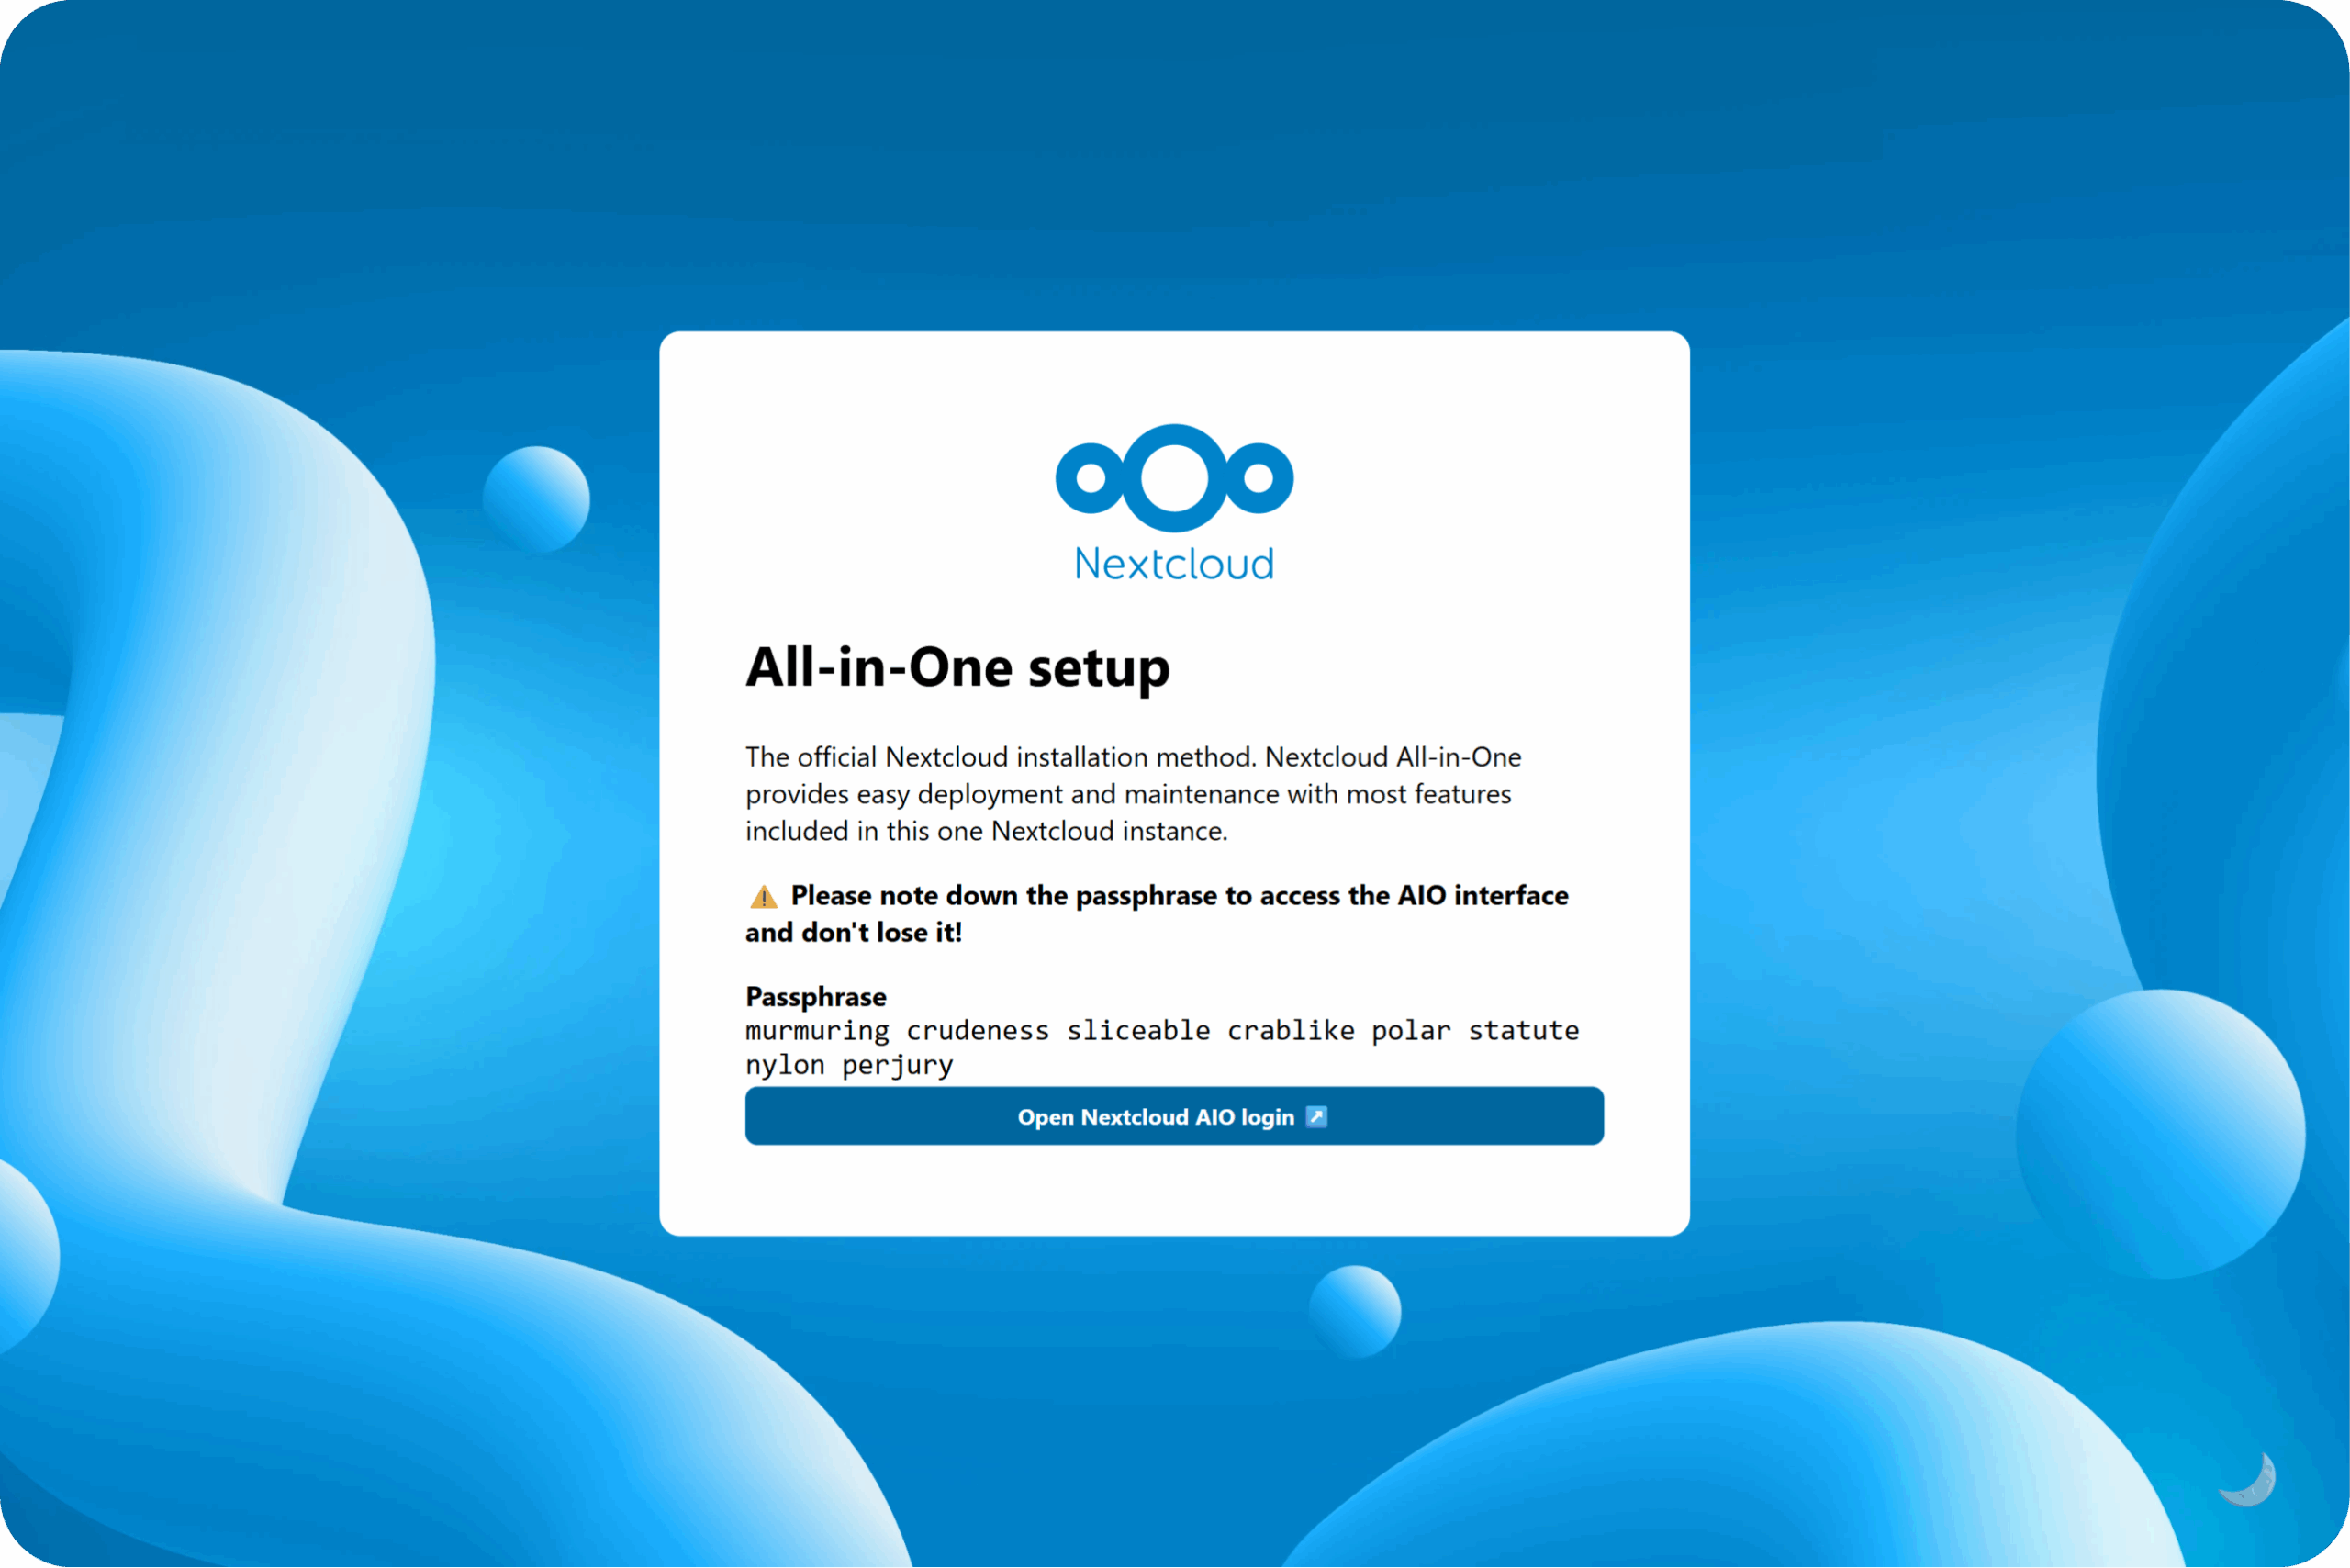
Port 8080 uses a self-signed certificate, so you need to accept the certificate warning in your browser. Then you should see a screen showing your Nextcloud AIO passphrase.
Copy the passphrase and store it somewhere safe, like a password manager. You’ll need it every time you log in to the Nextcloud AIO interface.
Alternatively, if ports 80 and 8443 are open in your firewall or router and a domain is configured to point to your server, you can reach the Nextcloud AIO interface with a valid certificate at https://your-domain.com:8443.
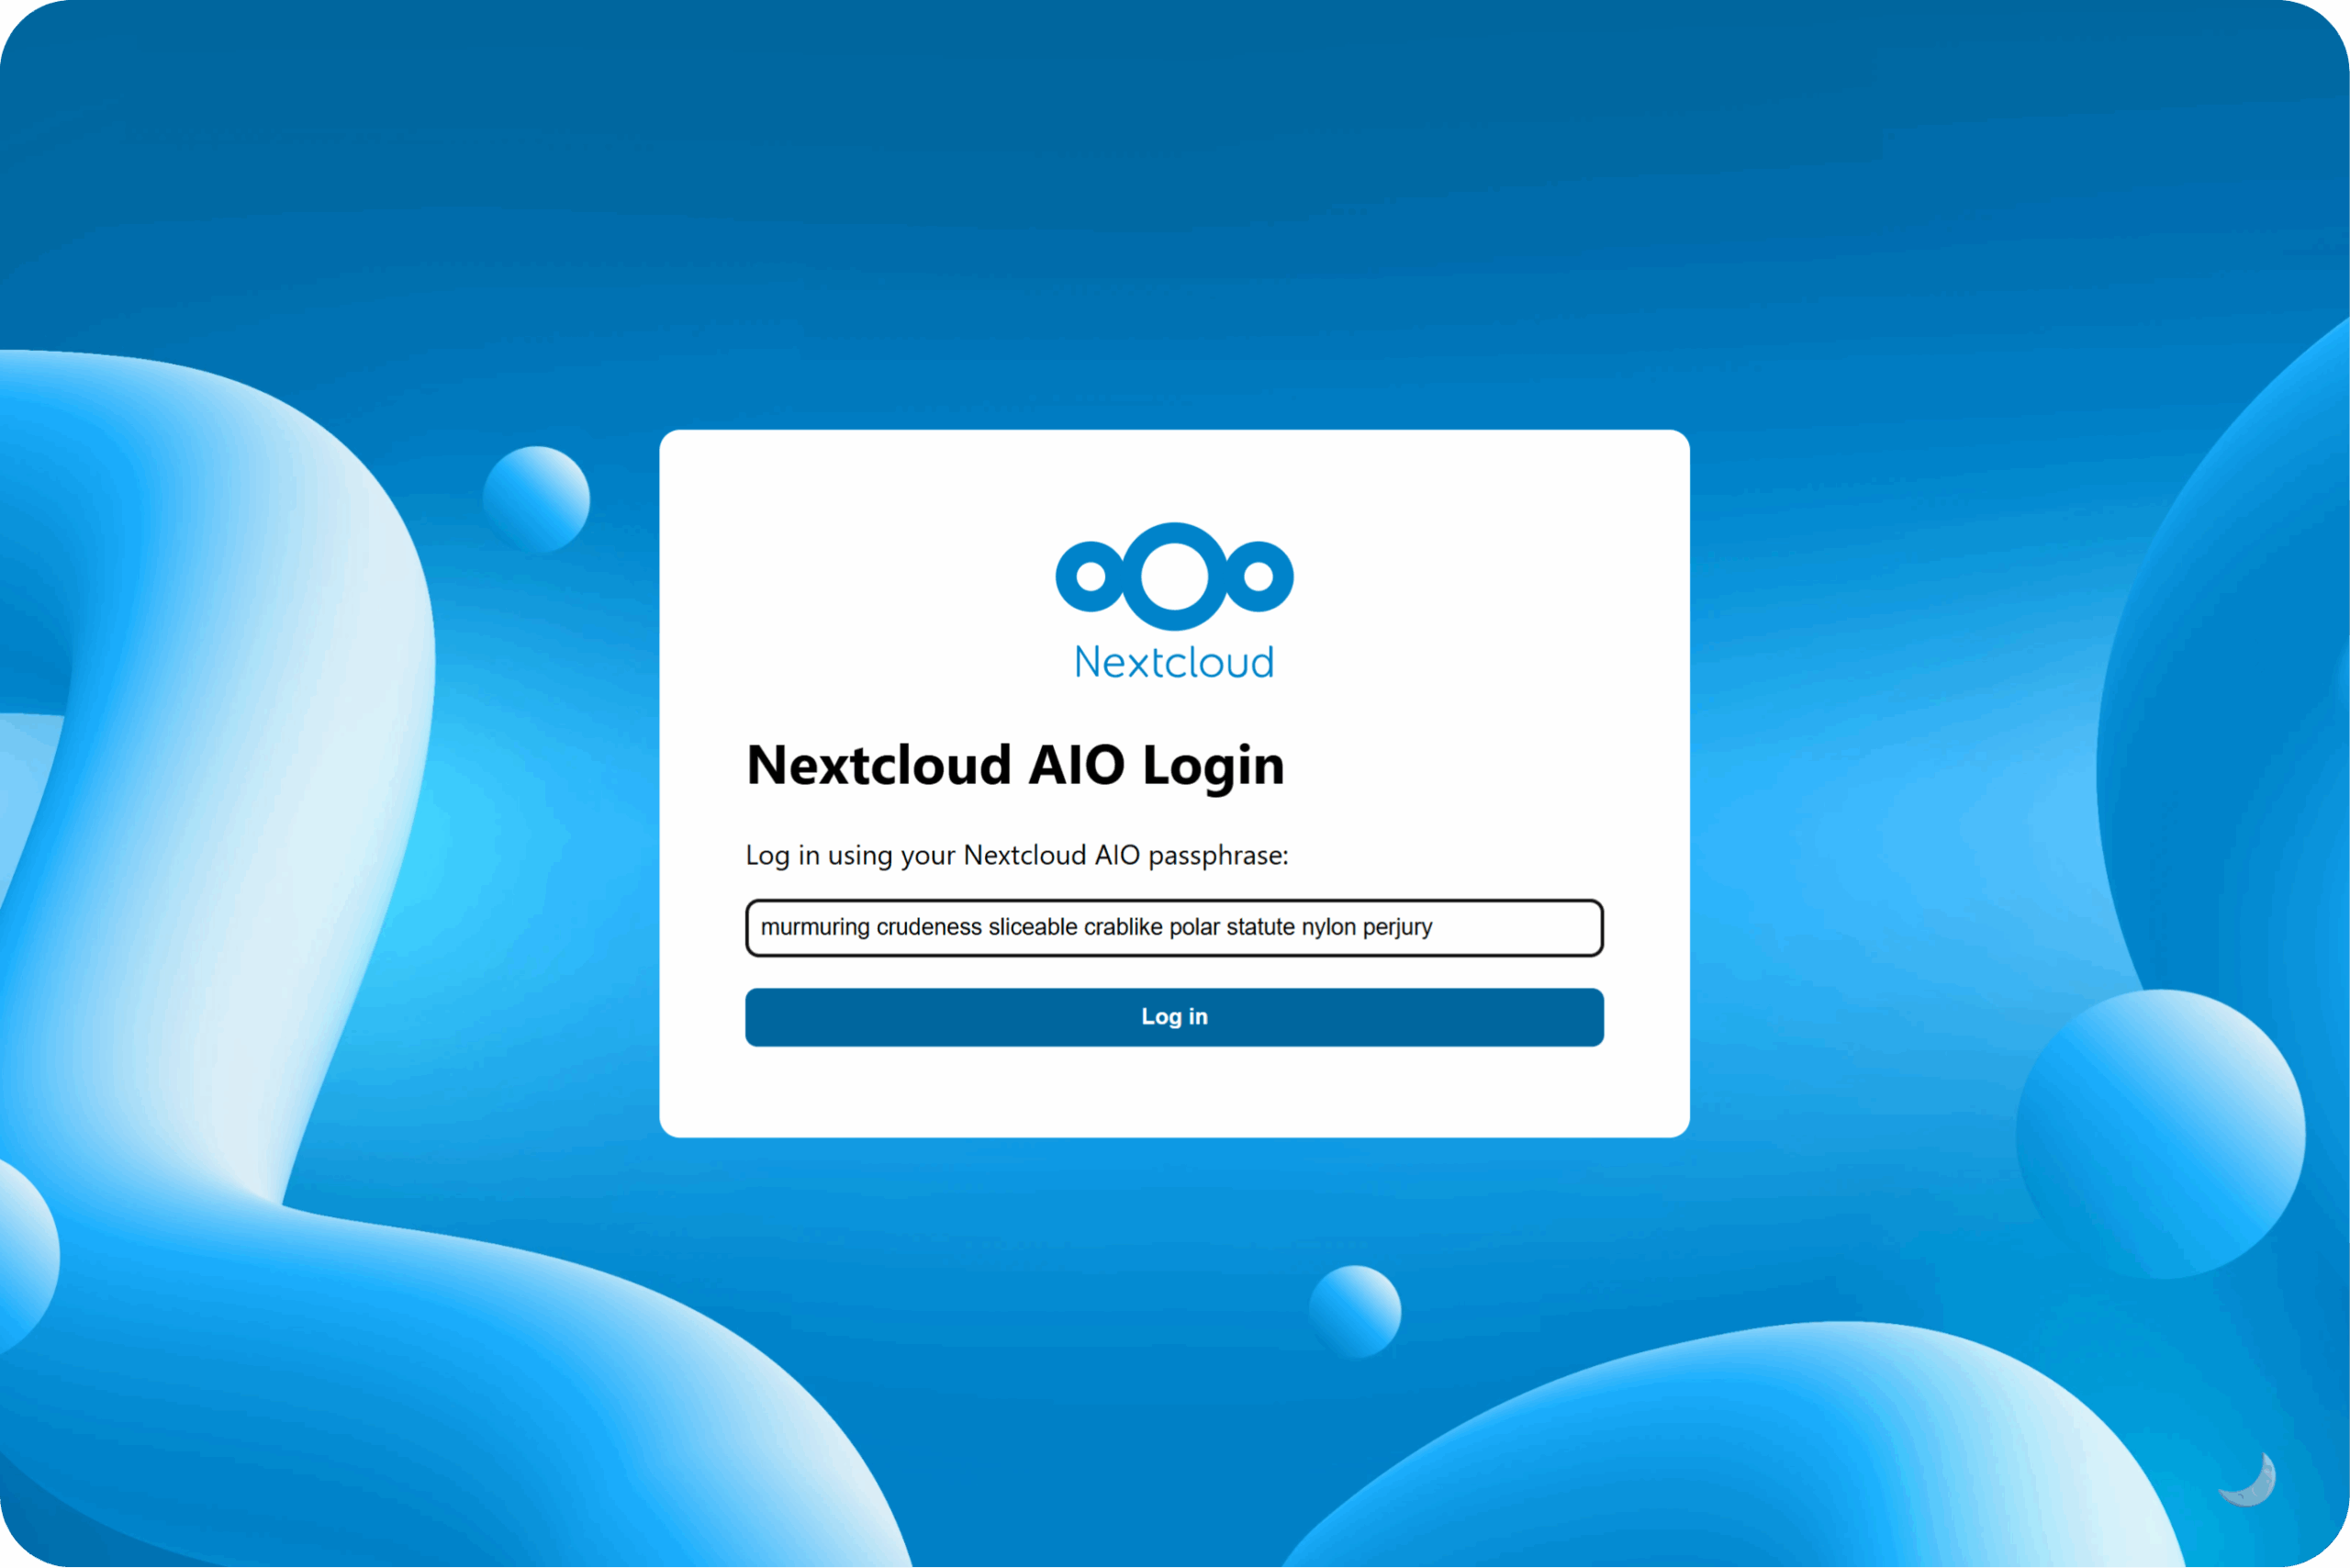
Click on « Open Nextcloud AIO login » and paste your passphrase.
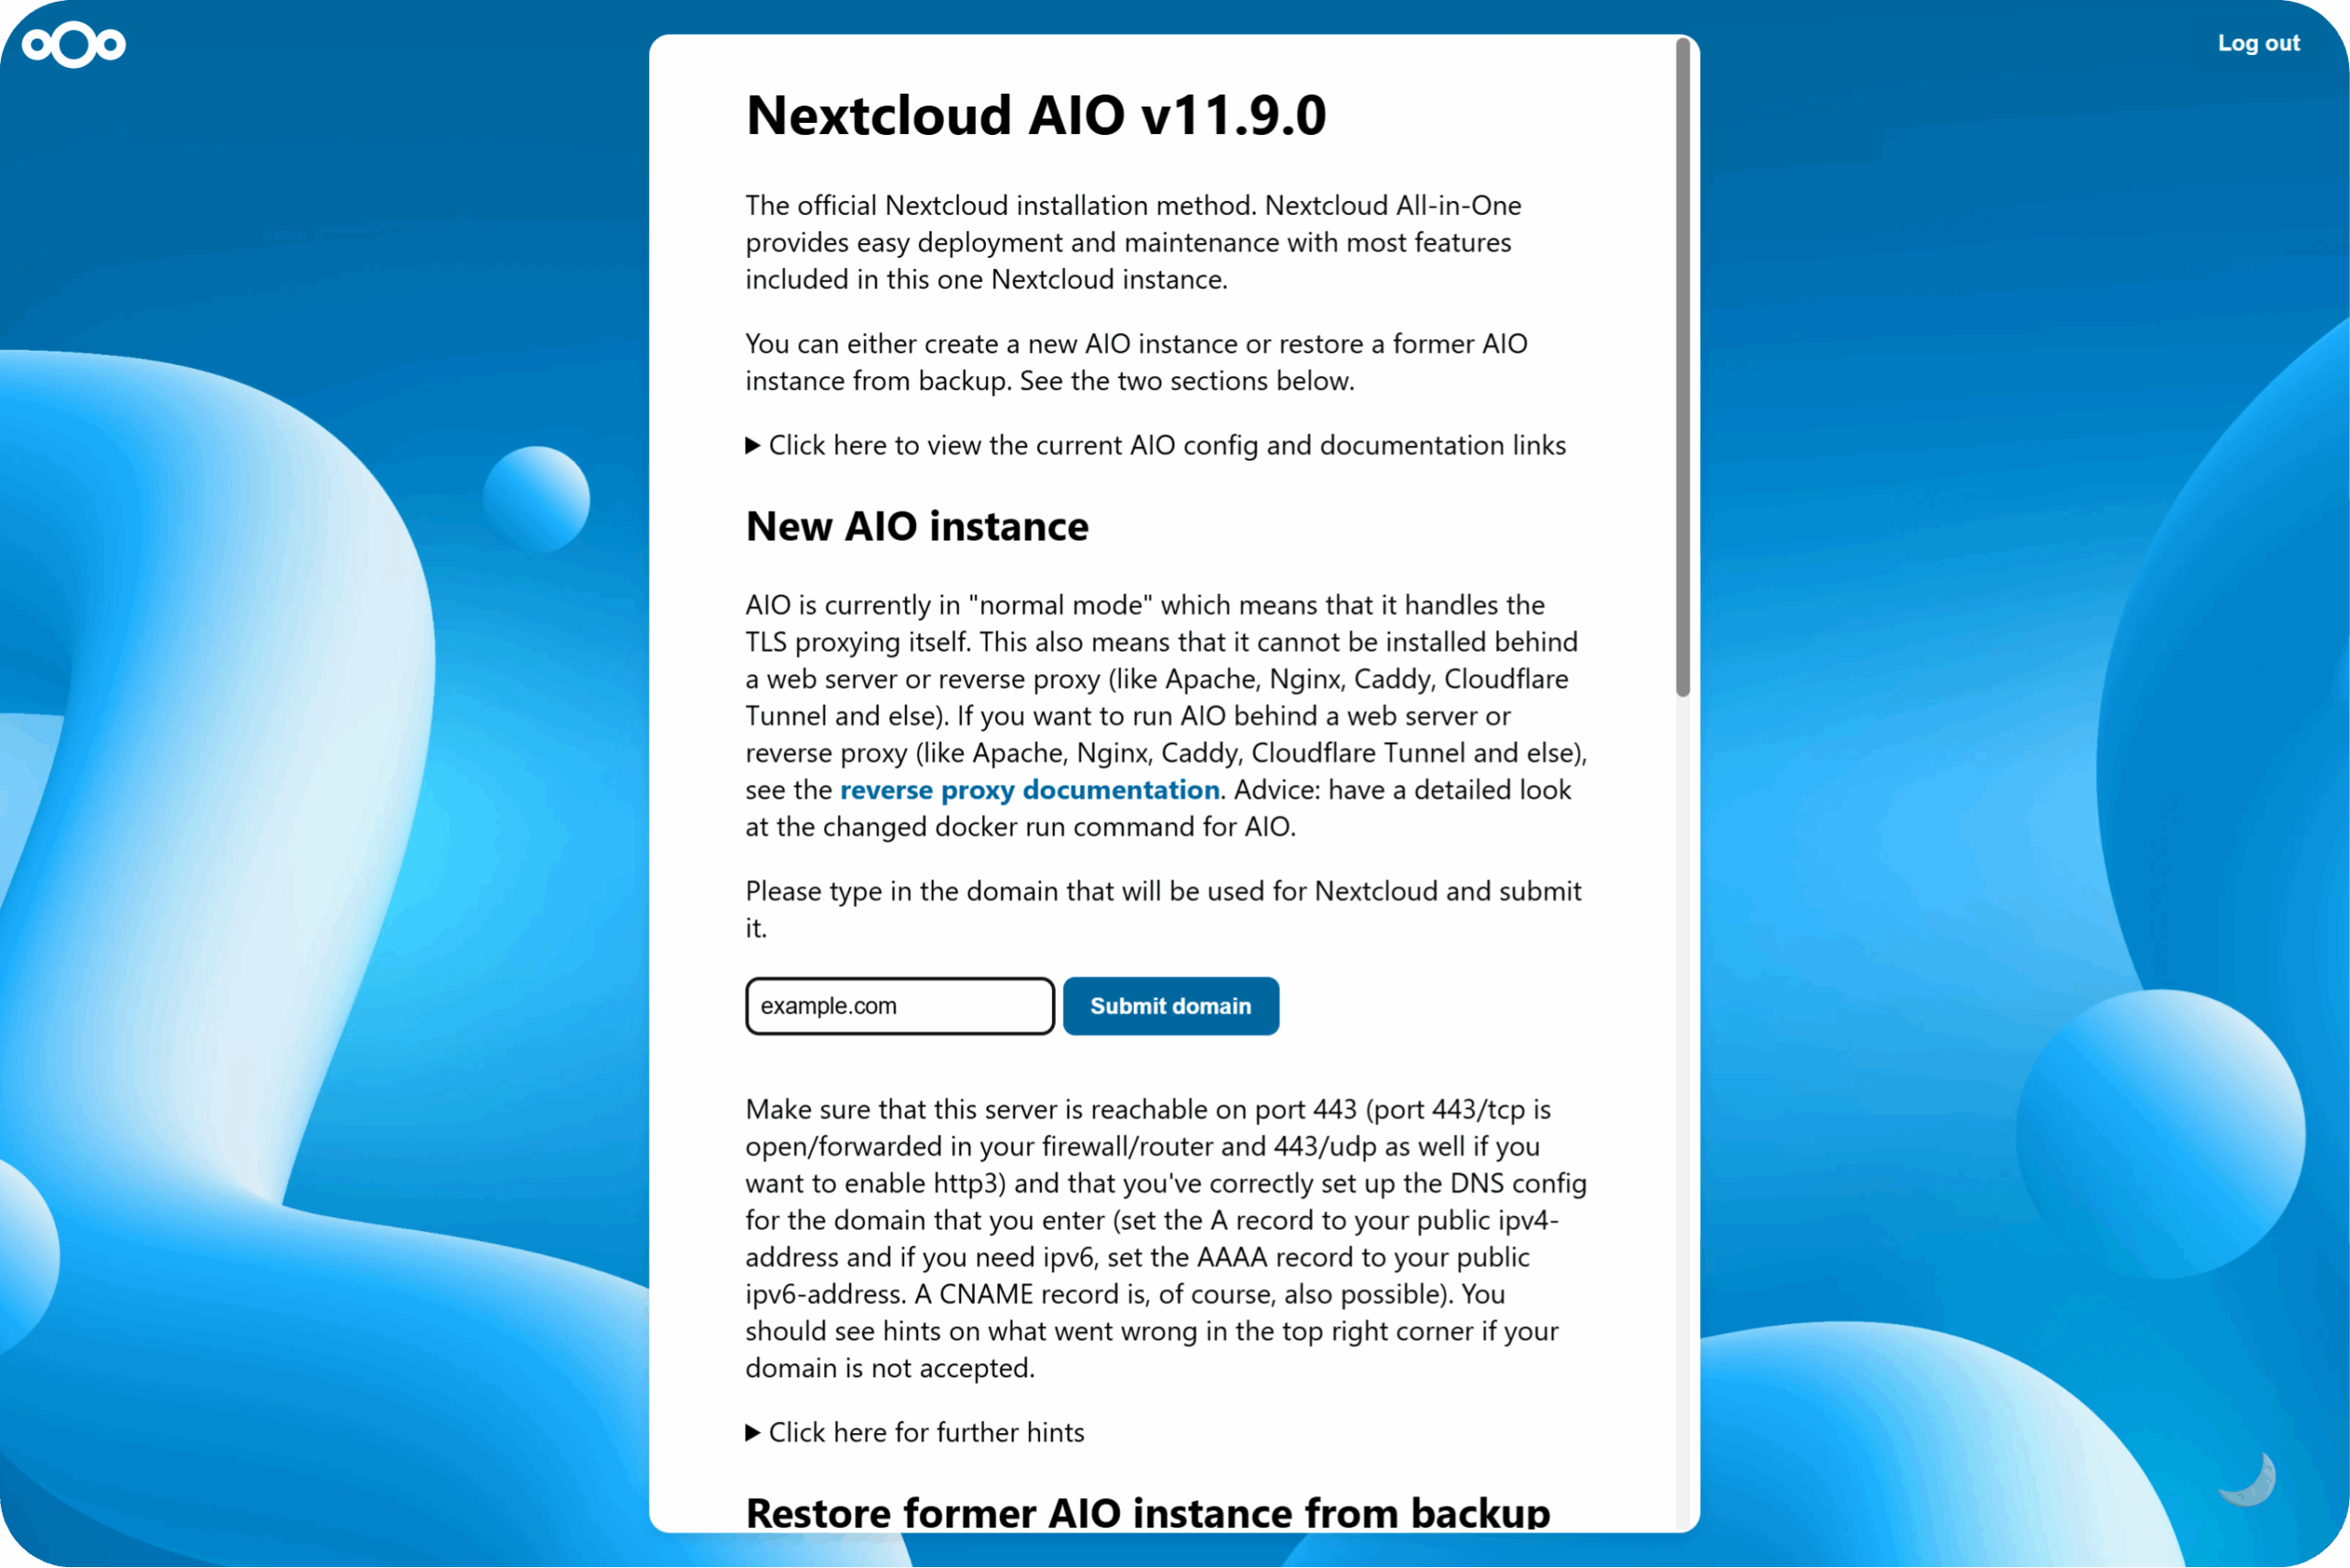
You should now see the Nextcloud AIO interface.
⚠️ Once your Nextcloud is up and running, logging in to the Nextcloud AIO interface directly with the passphrase is blocked for security reasons. To get back in, log in to Nextcloud as an admin, go to Administration settings → Overview (https://your-domain.com/settings/admin/overview), and click the button at the top to open the Nextcloud AIO login. You can then log in with your passphrase as usual.
Step 4: Enter your domain
Next, you need to tell Nextcloud AIO which domain to use for your Nextcloud. You can either use your own domain or let Nextcloud AIO register a free one for you.
Option A: Use your own domain
Type in your domain. Nextcloud AIO checks whether the domain points to your server and whether the required ports are reachable, and the interface helps you figure out what to fix if they aren’t.
For the check to pass, set up the DNS record (or DDNS) for your domain so that it points to your public IP address, and forward the following ports in your router or firewall to your Linux machine:
443/TCP for Nextcloud itself (required)
443/UDP if you want to enable HTTP/3 (optional)
3478/TCP and 3478/UDP for the Talk TURN server (only required if you enable Nextcloud Talk)
Option B: Get a free domain from deSEC
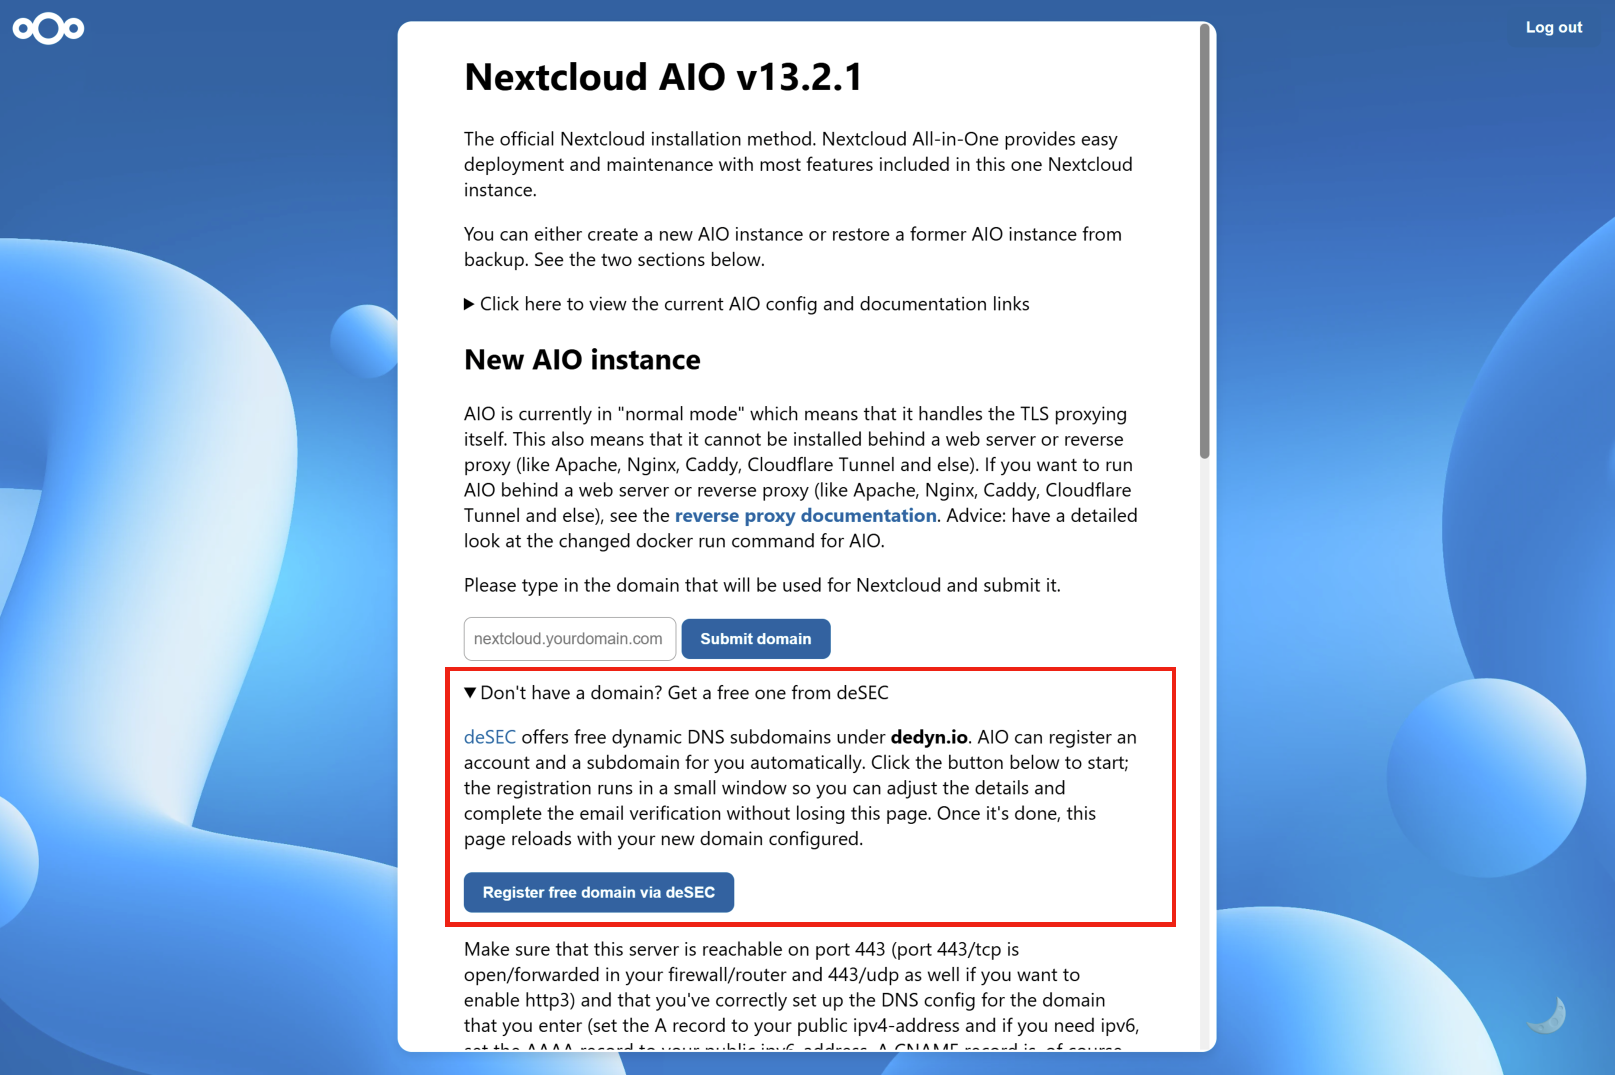
If you don’t have a domain yet, or you just want to try out Nextcloud AIO, you can get a free domain right from the Nextcloud AIO interface. Nextcloud AIO uses deSEC, a Berlin-based, non-profit DNS hosting service, to register a subdomain under dedyn.io and handle the technical setup for you: it creates the DNS records, makes sure the domain points to your server, and requests the SSL certificate. Since the certificate is obtained via the DNS challenge, you don’t need to forward any ports until you want to make your instance publicly accessible.
On the start screen, expand the section « Don’t have a domain? Get a free one from deSEC ».
Create a new deSEC account with your email address, or enter your credentials if you already have one. Optionally, choose the subdomain you’d like (the part before .dedyn.io). If you leave it blank, Nextcloud AIO picks a random one.
Then click Register free domain via deSEC.
As soon as your deSEC account is activated and the domain is registered, Nextcloud AIO sets it as your Nextcloud domain and keeps its DNS record up to date whenever your public IP address changes. It also sets up the Caddy community container as a reverse proxy and the dnsmasq container, which lets devices on your local network reach Nextcloud via the domain. For that last part, you need to make one change in your router; see the dnsmasq documentation for details.
Nextcloud AIO then downloads and starts the required containers automatically.
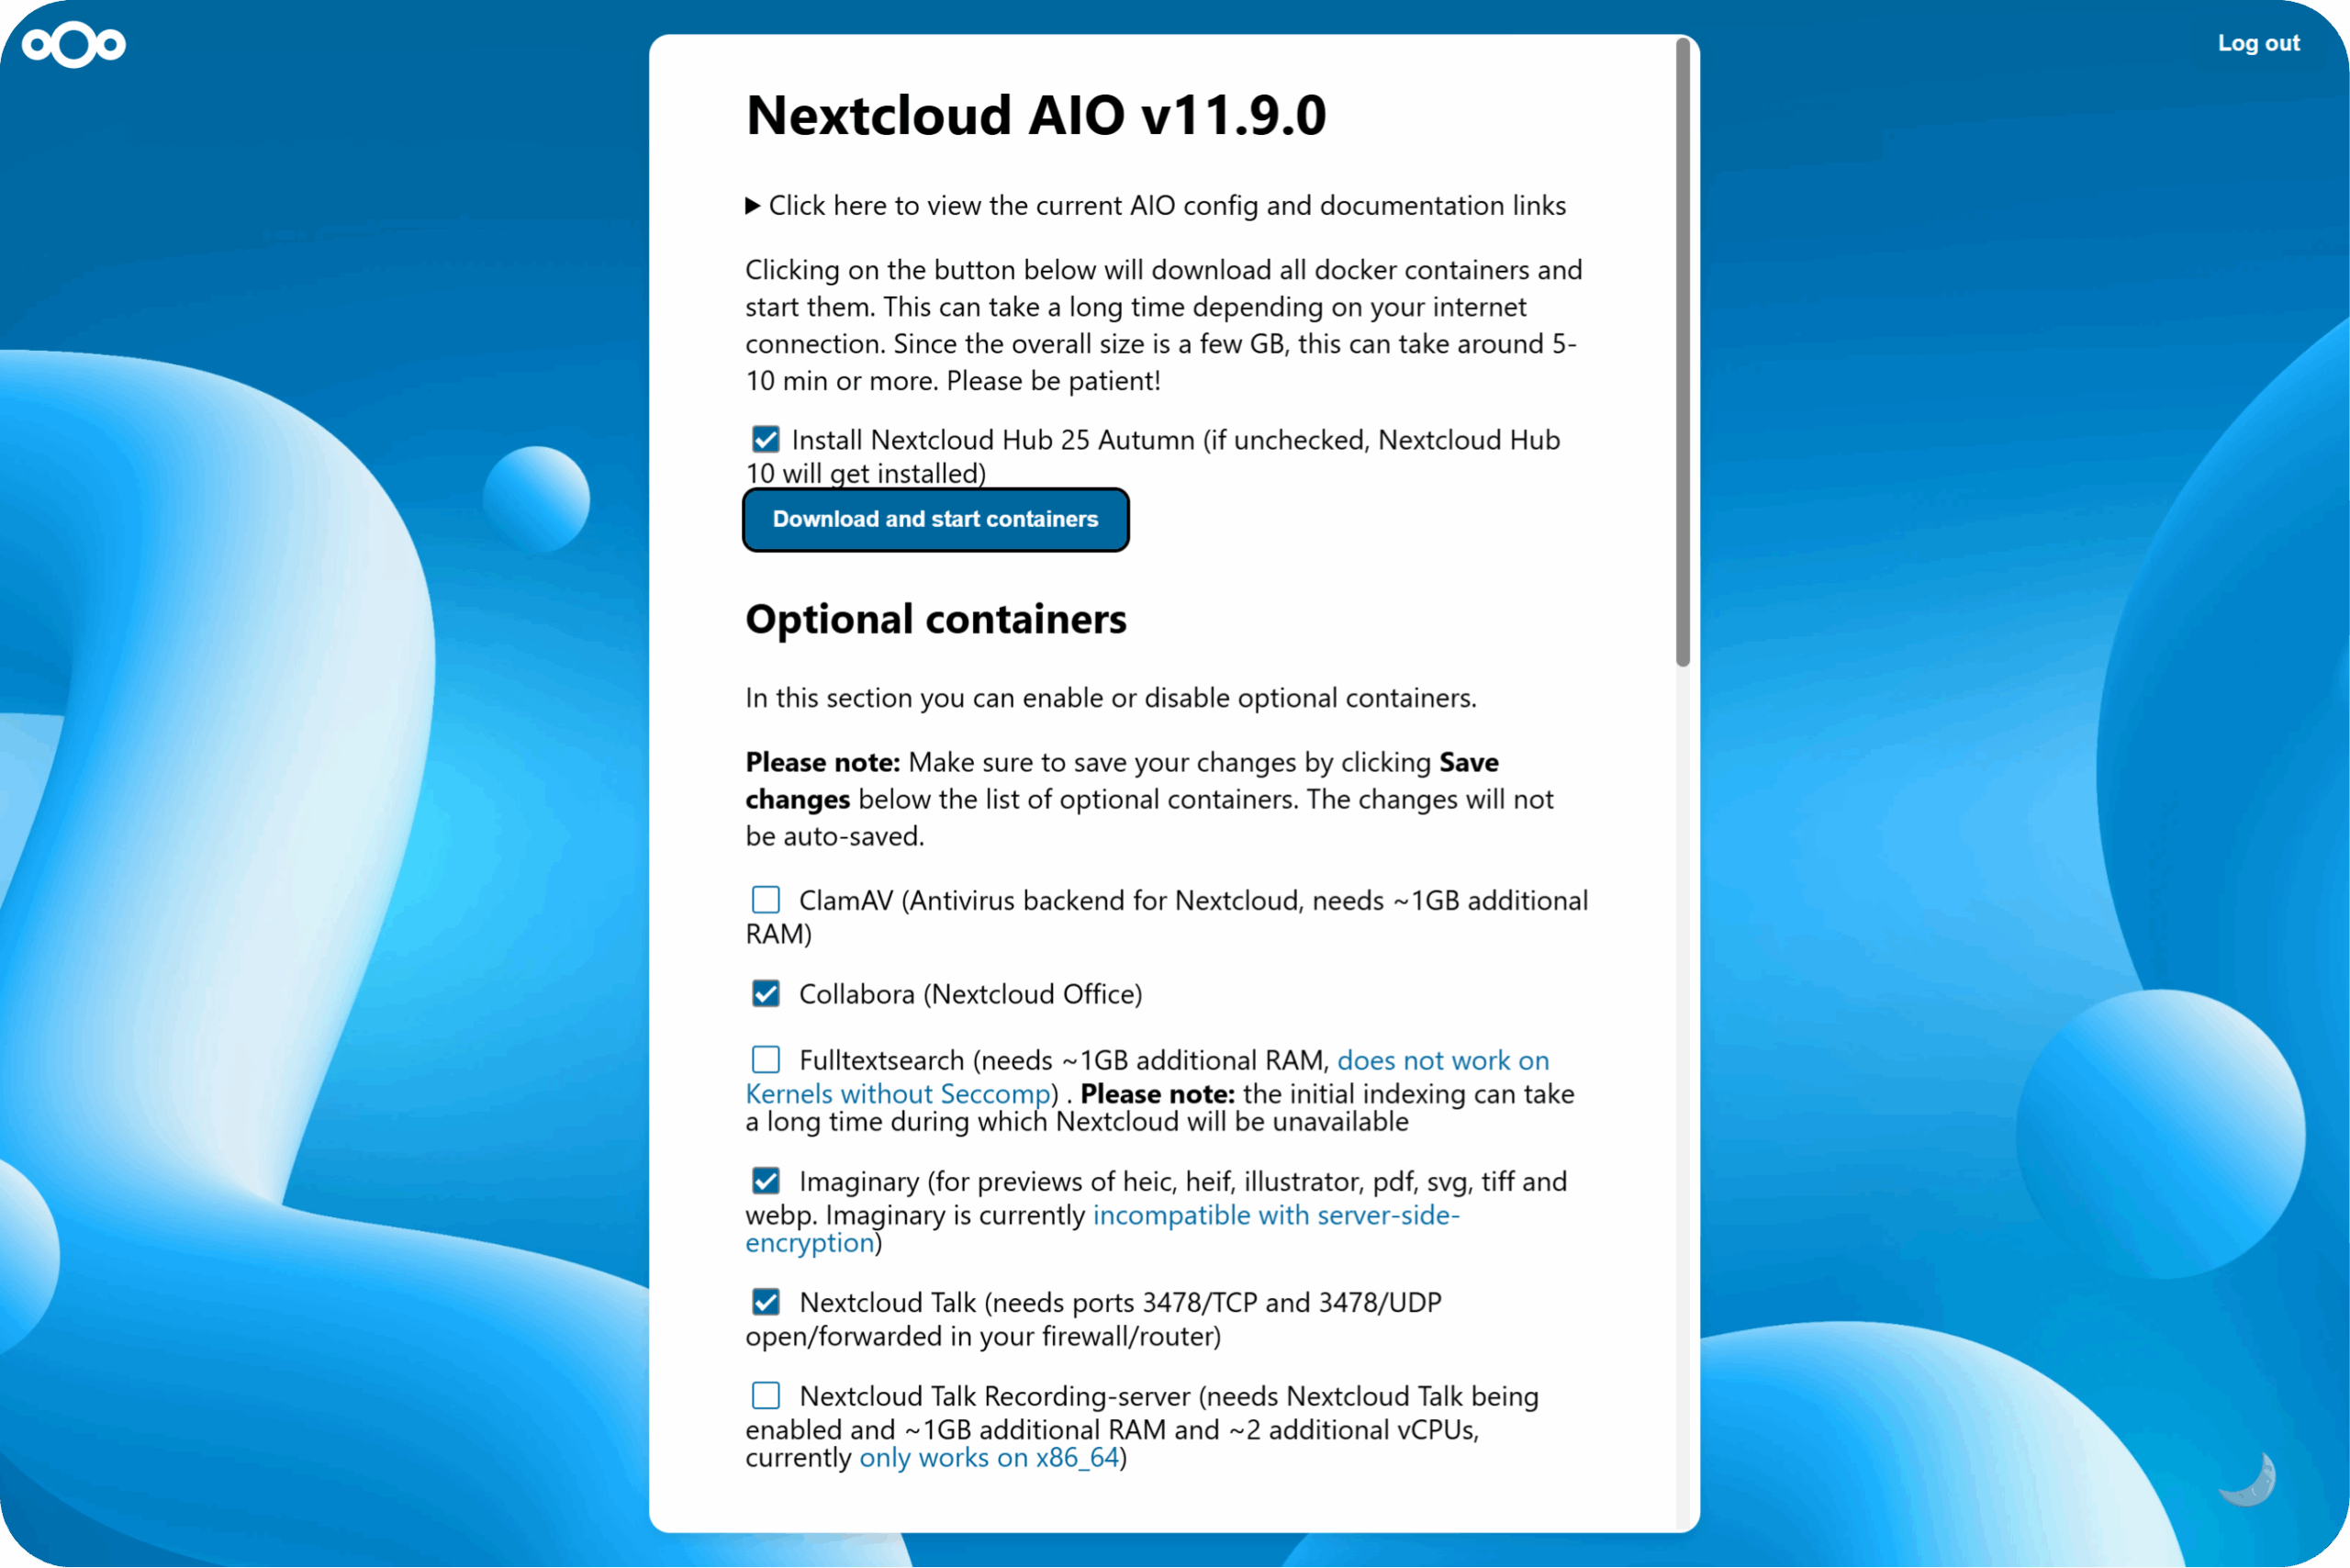
Step 5: Choose your add-ons and start the containers
Once your domain passes the check, you can continue to the next screen. Here, you can choose the optional add-ons you want and set your time zone. Then click on « Start containers » to download and start them.
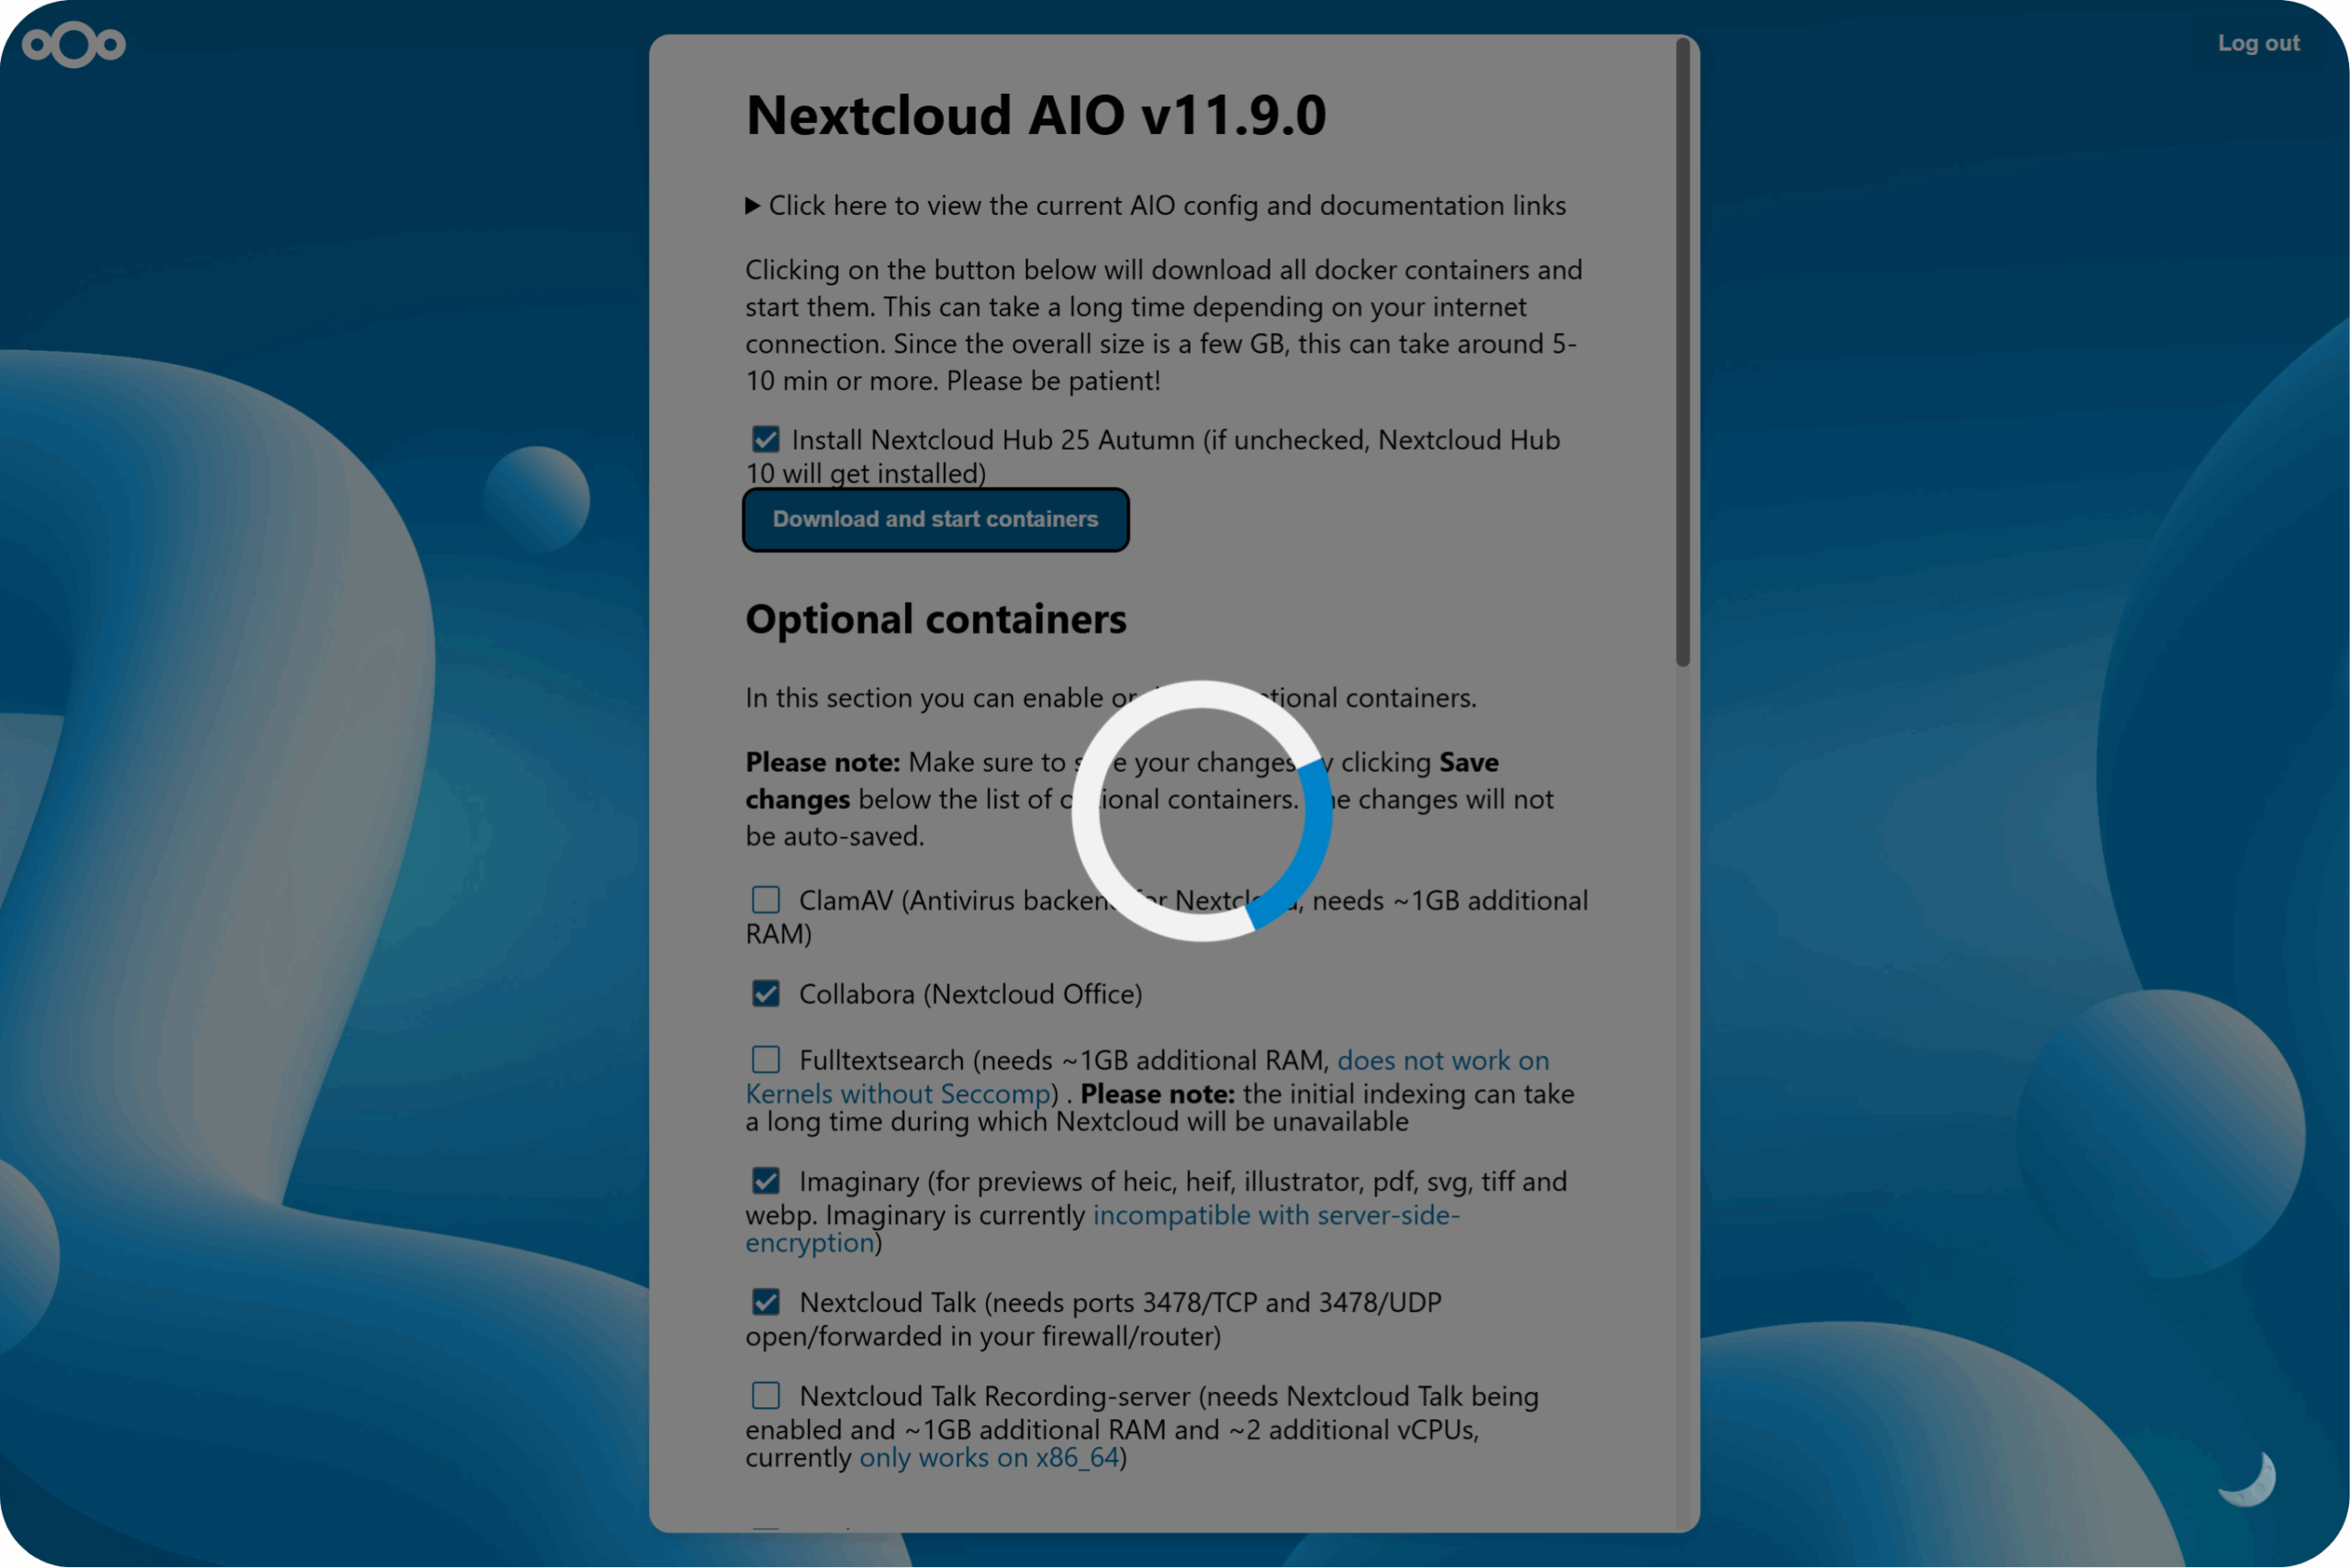
You should now see a spinner while Nextcloud AIO downloads the containers. Depending on your internet speed, this usually takes around 10 minutes or more.
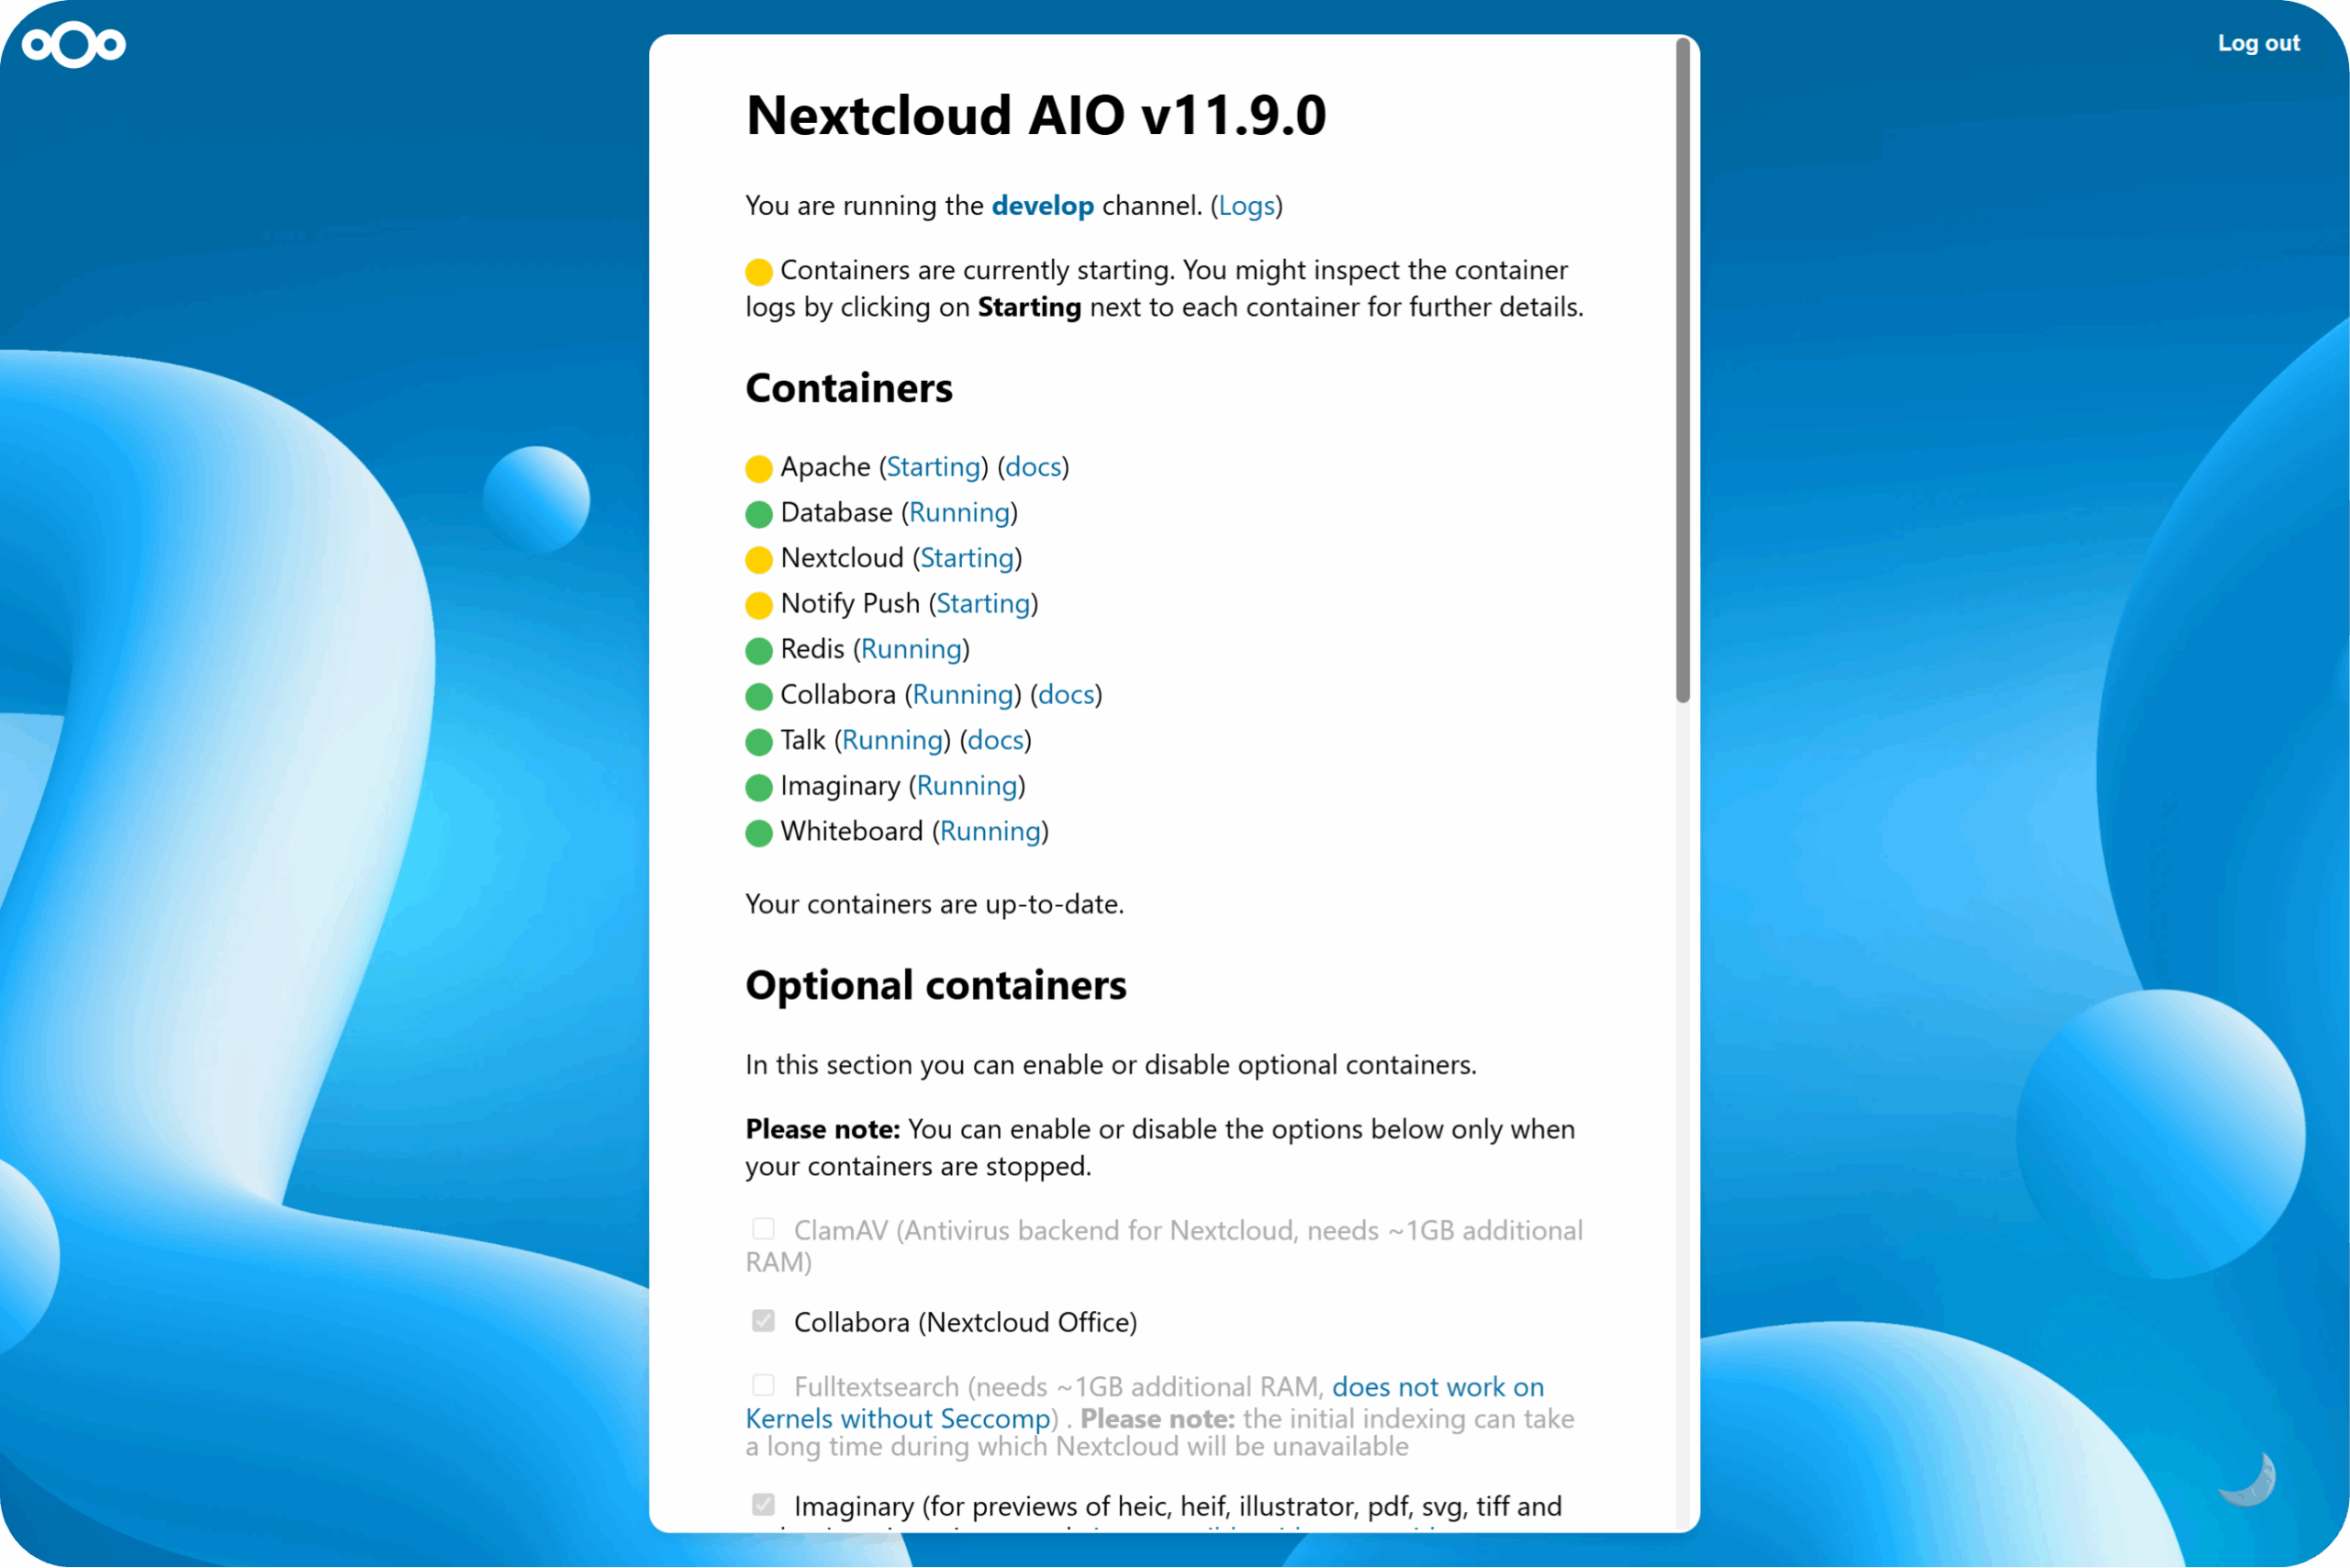
When all containers are downloaded, you will see this screen showing the containers still starting. During this time, Nextcloud AIO runs the initial Nextcloud installation for you.
Step 6: Log in to your new Nextcloud
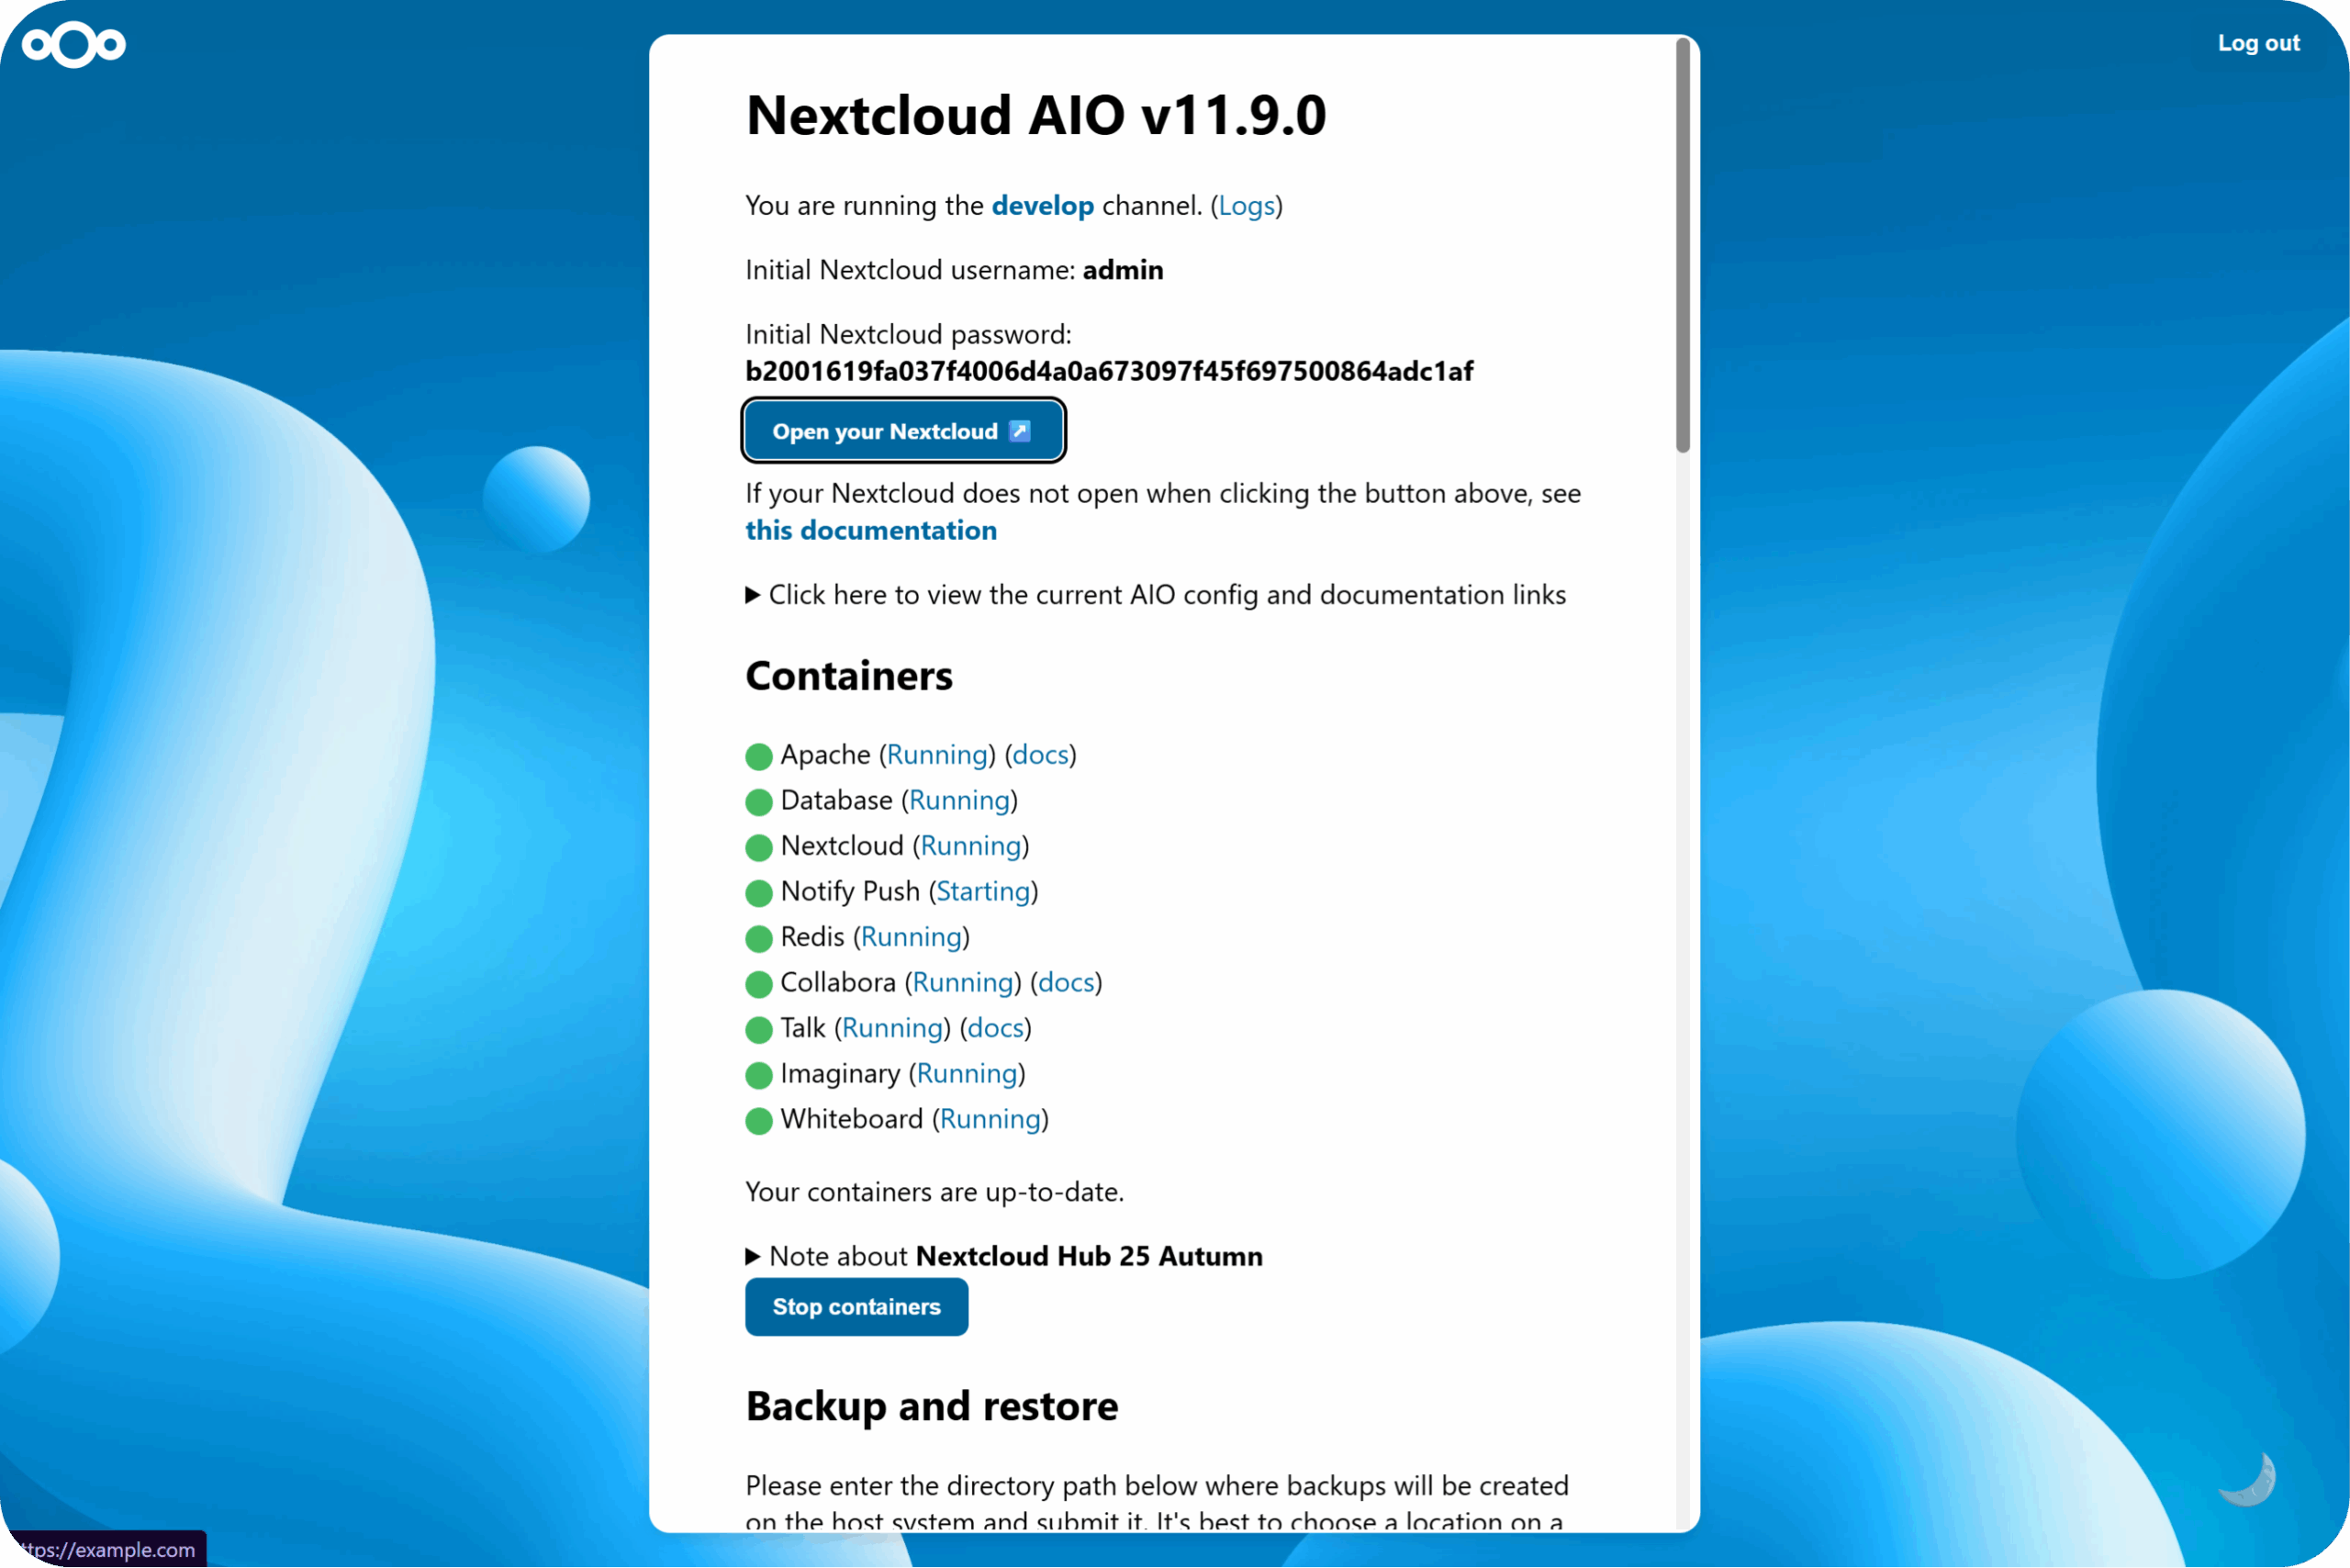
When everything is done, the admin credentials will be displayed.
You can now open your new Nextcloud instance and log in with the credentials. That’s it! Your Nextcloud is up and running.
Step 7: Set up backups and updates
Before you start moving your data into Nextcloud, take a few minutes to set up backups. Nextcloud AIO comes with a built-in backup solution based on BorgBackup. Backups are incremental, compressed, and encrypted, so only the first one takes a while.
Create your first backup
Open the Nextcloud AIO interface and go to the backup section.
Enter a backup location. This can be a local path, ideally on a separate drive that’s mounted on your host (e.g., /mnt/backup), or the URL of a remote Borg repository.
Click on Create backup.
Nextcloud AIO shows you an encryption key for your backups. Store this key in a safe place. Without it, you won’t be able to restore your instance from a backup.
After the first backup is done, you can enable daily backups. With daily backups enabled, you can also turn on automatic updates for all containers, Nextcloud, and its apps.
Note that files you connect to Nextcloud via the external storage app are not included in Nextcloud AIO’s backups.
Keep your instance up to date
When updates are available, Nextcloud AIO notifies all Nextcloud admins, and the Nextcloud AIO interface shows them below the containers section. To install them, create a backup first, then click on Stop containers and Start and update containers.
If you’ve enabled daily backups with automatic updates, Nextcloud AIO does all of this for you.
Troubleshooting
If you run into problems during the installation, these sections of the Nextcloud AIO documentation cover the most common issues:
The domain check fails even though everything is configured correctly: You can skip the domain validation.
The containers can’t communicate with each other on Fedora, RHEL, CentOS, SUSE, or other distributions that use firewalld: Follow the instructions on how to resolve firewall problems.
Something went wrong during the initial setup and you want to start over: Here’s how to properly reset the instance. Only do this on a fresh installation, since it deletes all data.
With Nextcloud AIO, a few commands and some clicks in the browser are all it takes to run your own Nextcloud on Linux, with backups and updates handled for you.
Once your instance is running, you can easily add even more features, like Fail2ban or Pi-hole. Learn how in our guide to Nextcloud AIO community containers.
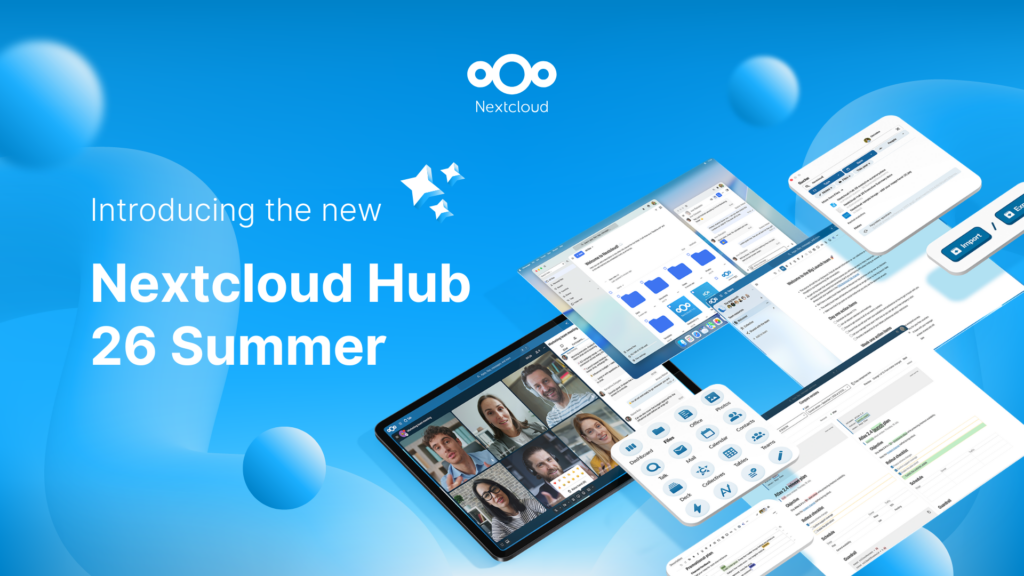
Créé grâce à un effort conjoint de notre équipe, de la communauté et de nos partenaires, Nextcloud Hub 26 Summer s'inspire des personnes réelles qui utilisent nos outils au quotidien. Créez votre propre espace d’équipe avec Nextcloud Teams, organisez vos souvenirs dans le nouveau Nextcloud Photos et profitez des améliorations que vous avez demandées dans l’ensemble des applications. Poursuivez votre lecture pour un aperçu complet de notre dernière version !
Les organisations, petites et grandes, ont besoin d'un moyen d'assurer la résilience et la souveraineté numérique de leurs opérations - une alternative à Teams, open-source et respectueuse de la vie privée. Aujourd'hui, nous vous présentons cette solution - Nextcloud Talk.
Nous vous présentons une mise à jour majeure de l'assistant Nextcloud IA, ainsi que de nouvelles informations sur notre collaboration avec plusieurs grands fournisseurs d'hébergement tels que IONOS et OVHcloud pour vous proposer des options d'IA en tant que service !
Bechtle et Nextcloud ont annoncé aujourd'hui une plateforme de collaboration entièrement administrée pour le secteur public, qui ne nécessite pas d'appel d'offres et peut être déployée immédiatement.
Découvrez comment passer de ownCloud à Nextcloud. Notre outil d'aide à la migration fournit des informations sur le processus de migration et vous aide à effectuer la transition en douceur.
One year ago, the European Commission proposed the Digital Omnibus, a package to “simplify” EU digital rules. Its most important part is still being negotiated: a GDPR change that would make it easier for companies to train AI on your personal data, while EU governments want to weaken your right to say no. Here’s where things stand, who’s lobbying, and how to keep your data out of someone else’s AI.
What does the dependency on U.S. Big Tech put at risk and what can Canadian organizations learn from Europe’s digital sovereignty movement? In this article, we try to find the answers.
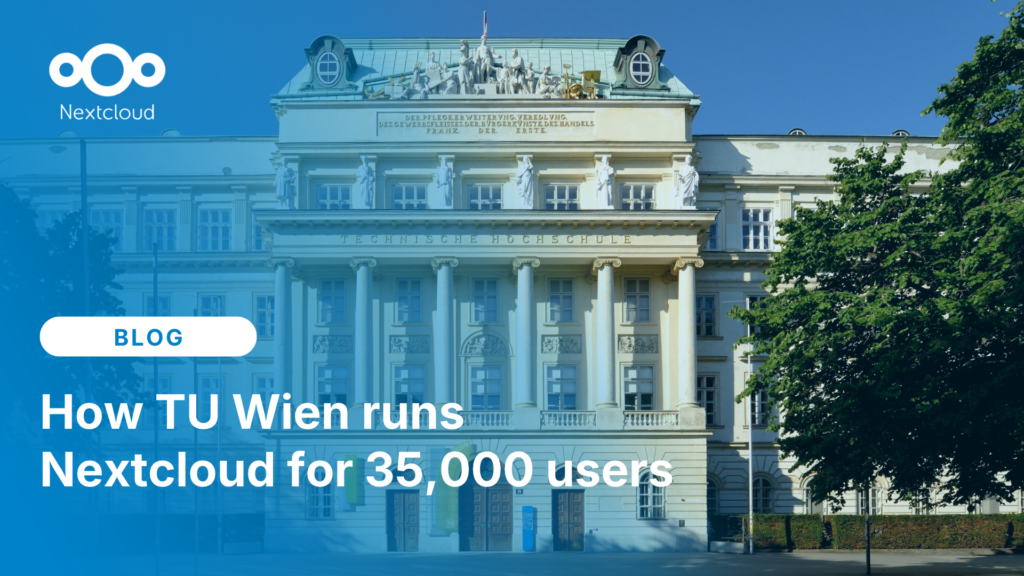
Jan Vales, System Administrator for the TUcloud at TU Wien, tells us about university's 35,000-user Nextcloud setup, how share links solved TU Wien’s external collaboration problems, and why he thinks open source should win over closed source.
Nous enregistrons certains cookies pour compter les visiteurs et faciliter l'utilisation du site. Ces données ne quittent pas notre serveur et ne sont pas destinées à vous suivre personnellement ! Consultez notre politique de confidentialité pour plus d'informations Personnaliser
Les cookies utilisés pour enregistrer les données saisies dans les formulaires, telles que le nom, l'adresse électronique, le numéro de téléphone et la langue préférée.
Nom du cookie :nc_form_fields
Description du cookie :Mémorise les données saisies dans les formulaires pour une prochaine visite (nom, adresse électronique, numéro de téléphone et langue préférée).
Expiration du cookie :30 jours
Consentement
Nom du cookie :nc_utm_parameters
Description du cookie :We use cookies to store UTM parameters from your visit so we can understand how you arrived at our website.
Les cookies statistiques collectent des informations de manière anonyme et nous aident à comprendre comment nos visiteurs utilisent notre site web. Nous utilisons la solution open source de mesure de statistiques web Matomo
Service:Matomo
Description du cookie :
_pk_ses*: Compte la première visite de l'utilisateur
_pk_id*: Aide à ne pas compter deux fois les visites.
mtm_cookie_consent: Se souvient que l'utilisateur a donné son accord pour le stockage et l'utilisation de cookies.
Expiration du cookie :_pk_ses*: 30 minutes
_pk_id*: 13 mois
mtm_cookie_consent: 30 jours